
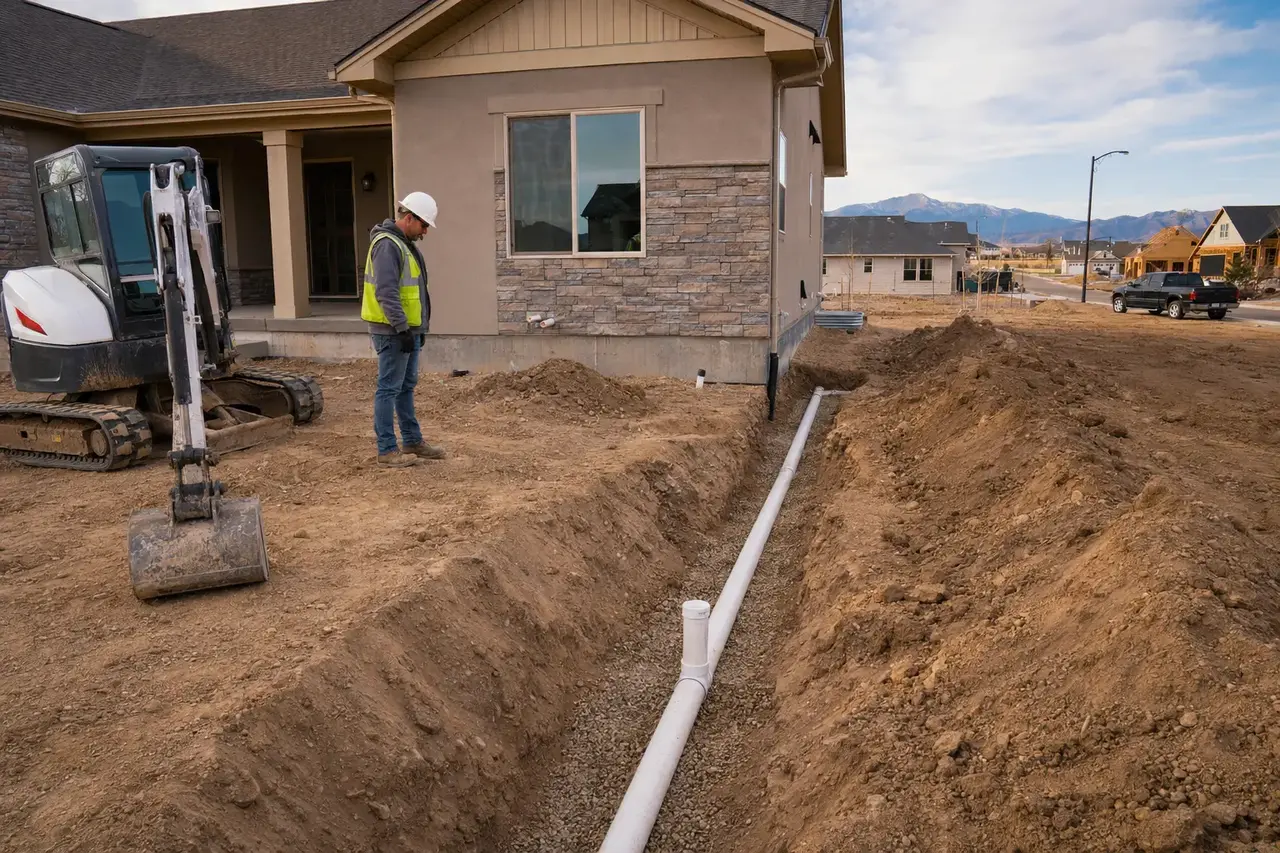
Start with the approved connection—not the trench
The building sewer is the private pipe between the structure and its approved wastewater destination. Before a route is excavated, the project should establish whether public sewer is available, where the authorized connection or tap is located, and which utility, district, or onsite-wastewater requirements apply.
Civil and plumbing plans should agree on the building exit, connection elevation, pipe diameter, design flow, route, and finished grades. Those details determine whether gravity drainage is practical and help prevent a field-installed line from conflicting with an approved design.
- Approved utility availability and connection point
- Building-use and design-flow information
- Invert elevations and finished site grades
- Permit, tap, inspection, and testing requirements
The private lateral must work with the whole site
A sewer route cannot be planned in isolation. It must fit around foundations, water and gas services, electric and communications, storm drainage, retaining walls, fire access, drive aisles, parking, landscaping, and future structures. Early coordination can keep a cleanout out of a doorway, avoid an unnecessary pavement crossing, and preserve access for later maintenance.
Construction sequencing matters as much as alignment. The line must be protected from equipment loading, settlement, concrete washout, soil, and building debris while other trades remain active. Open ends should stay capped, and completed sections should not be treated as a convenient disposal route during construction.
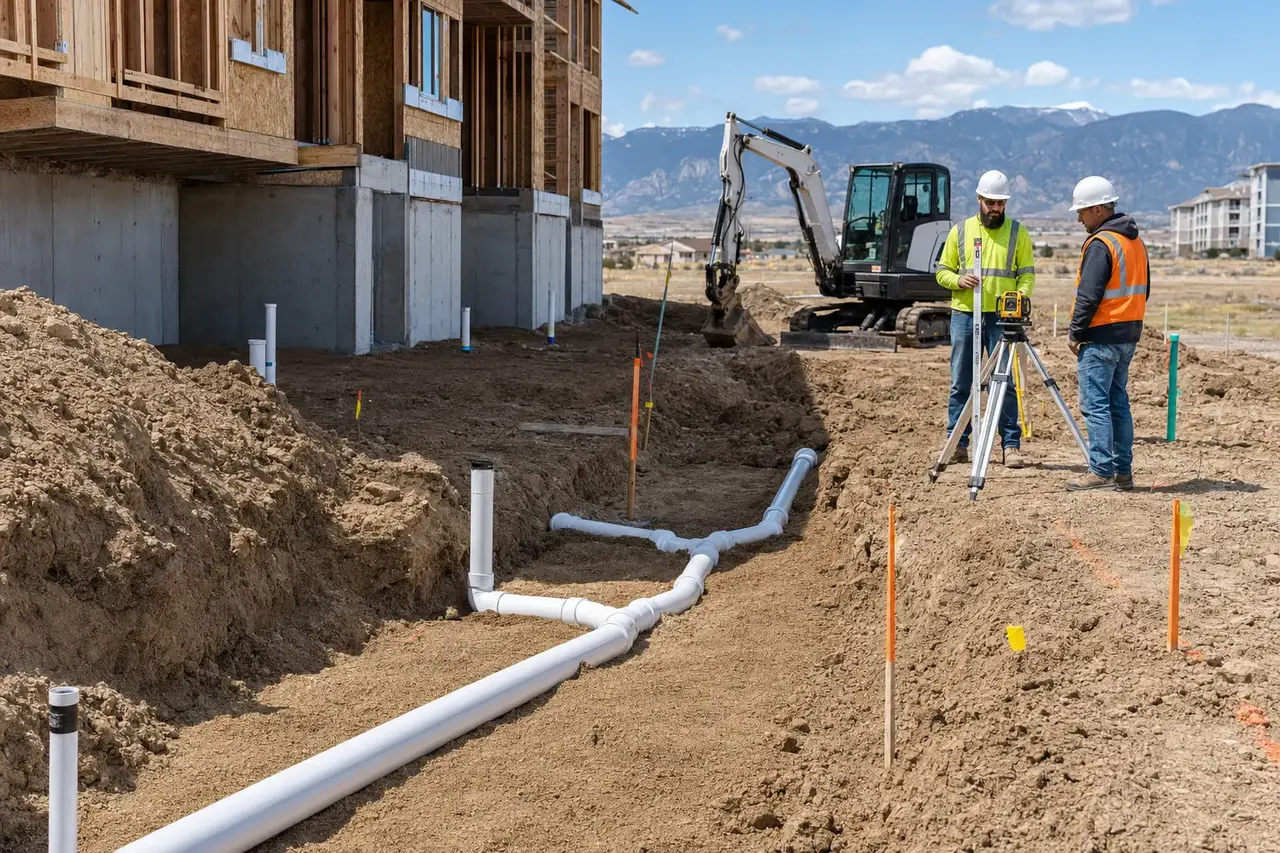
A coordinated installation accounts for the building, connection elevation, other utilities, finished surfaces, testing, and the construction schedule.
Single-family installation decisions begin at the building exit
A new home's plumbing design establishes where the building drain leaves the foundation or slab. From there, the private sewer needs a route that reaches the approved connection while preserving continuous drainage, usable cleanout access, and separation from other site features. Foundation type, crawlspace or slab rough-in, garage placement, driveway layout, and final grading all influence that route.
A shorter route is not always the better route. The lowest point on a steep lot, a future patio, a retaining wall, or a congested utility corridor can make a slightly longer alignment easier to install and maintain. If gravity service cannot be achieved within the approved elevations, any pumped alternative should be specifically engineered and included in the operating plan rather than improvised in the field.
Multifamily and commercial projects require capacity and coordination
A multifamily or commercial private sewer may serve more fixtures, several buildings, kitchens, floor drains, or future tenant spaces. The approved design should account for building use, design flow, pipe diameter, connection capacity, cleanout access, and any required pretreatment component. A restaurant, apartment building, office, and warehouse should not be treated as interchangeable simply because the trench looks similar.
Larger projects also need a clear division between civil, plumbing, excavation, utility, and paving scopes. The proposal should identify who lays out the route, provides elevations, coordinates the connection, schedules inspections, protects installed pipe, and completes final surfaces. That ownership prevents a gap between the pipe under the building and the utility connection outside it.
A new private sewer succeeds when the approved connection, elevations, route, installation, and site sequence agree.
- 01Confirm connection
Verify service availability, the approved destination, tap requirements, and the responsible authorities.
- 02Set route and grade
Coordinate building exit, invert elevations, cleanouts, utilities, grading, pavement, and access.
- 03Install and support
Control excavation, bedding, alignment, joints, protection, backfill, and compaction.
- 04Test and document
Complete required testing and inspection, then retain photographs and as-built measurements.
Grade, bedding, and joints determine long-term performance
Gravity sewer depends on a consistent approved slope. A laser or other suitable grade-control method can verify the trench and pipe elevation as work progresses. The trench bottom should support the barrel of the pipe rather than leaving joints or isolated rocks to carry the load, and bedding should be shaped and compacted as required for the selected material and site conditions.
Connections must remain aligned and watertight while backfill is placed. Excessive deflection, unsupported fittings, poor transitions, and rushed compaction can create sags or settlement after the site is finished. Deep excavations, unstable soil, groundwater, and adjacent utilities add safety and installation requirements that belong in the work plan before the trench is opened.
- Continuous approved drainage grade
- Uniform bedding and pipe support
- Compatible, watertight fittings and transitions
- Controlled backfill and compaction
- Protection from construction loading
Taps, cleanouts, testing, and inspection come before final backfill
The private sewer connection must match the approved utility or onsite-wastewater plan. Work at a public main or tap may be restricted to authorized parties or require separate utility coordination, permits, and inspection. The service scope should distinguish private-lateral installation from public-main work and identify exactly where responsibility begins and ends.
Cleanouts should be placed and protected so future camera, cable, or jetting equipment can reach useful portions of the line. Before final backfill and hardscape, required tests and inspections should be completed, corrections documented, and the installed route measured. Photographs of fittings, transitions, bedding, and cleanouts create a record that is impossible to recreate once the trench is covered.
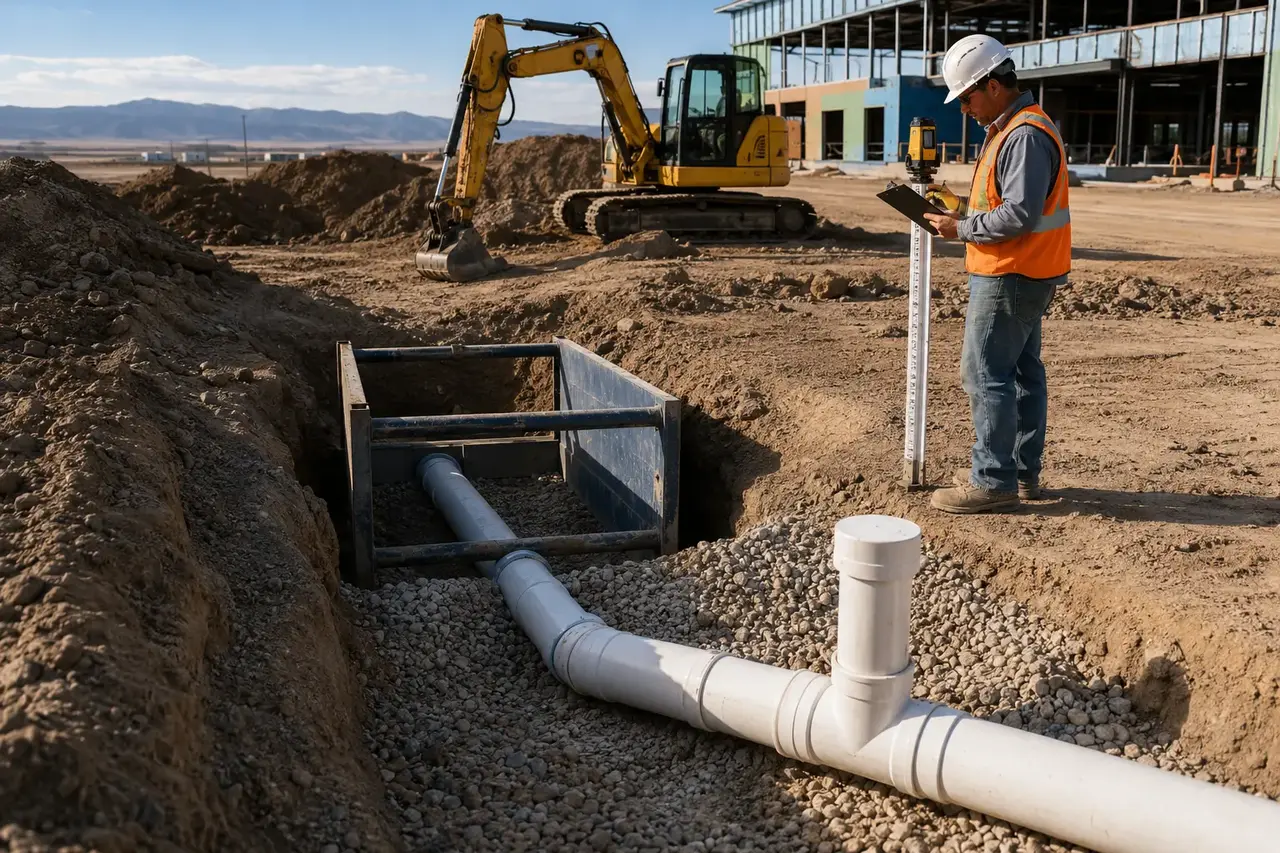
Testing, inspection, pre-backfill photographs, and measured as-built locations protect the value of work that will soon disappear underground.
Sequence the installation around permits and the construction schedule
Confirm approved plans, utility availability, connection permissions, required markings, permits, and inspection windows before mobilizing. Coordinate the sewer with foundation work, underground utilities, site grading, concrete, and paving so completed work is not repeatedly exposed or driven over by heavy equipment.
During construction, keep every open pipe capped and protect cleanouts and stub-ups from soil, concrete, and trade debris. Establish when the building can be connected, who controls water use, and whether temporary conditions affect testing. Inspection should occur while the required portions remain visible, not after the schedule has forced the trench closed.
Before final turnover, confirm that corrections are complete, access points are at usable finished elevations, and restored grades move surface water appropriately. A final walkthrough should reconcile field conditions with the approved drawings and identify any remaining utility, paving, landscape, or documentation work.
- Confirm approvals before excavation
- Coordinate underground-trade sequencing
- Protect pipe from debris and equipment
- Inspect before final cover
- Complete turnover records
Leave the owner with a line that can be found and maintained
Turnover records should show the private sewer route, material, diameter, approximate depth, connection point, cleanout locations, and measurements from permanent site features. Include approved drawings or field revisions, inspection and test records, photographs taken before backfill, and the applicable warranty information.
These records help future owners distinguish the building sewer from public infrastructure, locate access before an emergency, and plan landscaping or additions without starting from guesswork. Cleanouts should remain visible and protected after final grading, and any special operating component should have clear maintenance instructions.
- As-built route and connection
- Cleanout locations and depths
- Testing and inspection records
- Pre-backfill photographs
- Warranty and maintenance information
Single-family, multifamily, commercial use, fixture load, pipe diameter, and any pretreatment needs.
Approved point, invert elevation, tap rules, fees, utility capacity, and public-right-of-way requirements.
Length, depth, soil, groundwater, other utilities, finished grades, paving, and project sequence.